

In the world as a developer you have a big toolbox in front of you, constantly evolving. As a result it’s not always easy to navigate between everything and sometimes hard to find out where to start.
You may remember that I previously blogged about testing using the tSQLt framework. At the point I assumed that you were familiar with SQL Server Database Projects, having a state based deployment model. Today, however, I will give you an introduction on how to start with migration based deployments.
Why FlyWay?
FlyWay got my attention some years back as it’s doing database deployments the migration way, but one of the great features are it’s extensive support for a wide range of relational databases (Oracle, DB2, MariaDB and the list goes on).
However, It’s not always my go-to choice for the reason that it really depends on the team composition and skills. In most cases I find it more practical to introduce state based deployments as it let’s the developers focus on the database development and modelling part.
Anyhow, a typical FlyWay story can look like this.
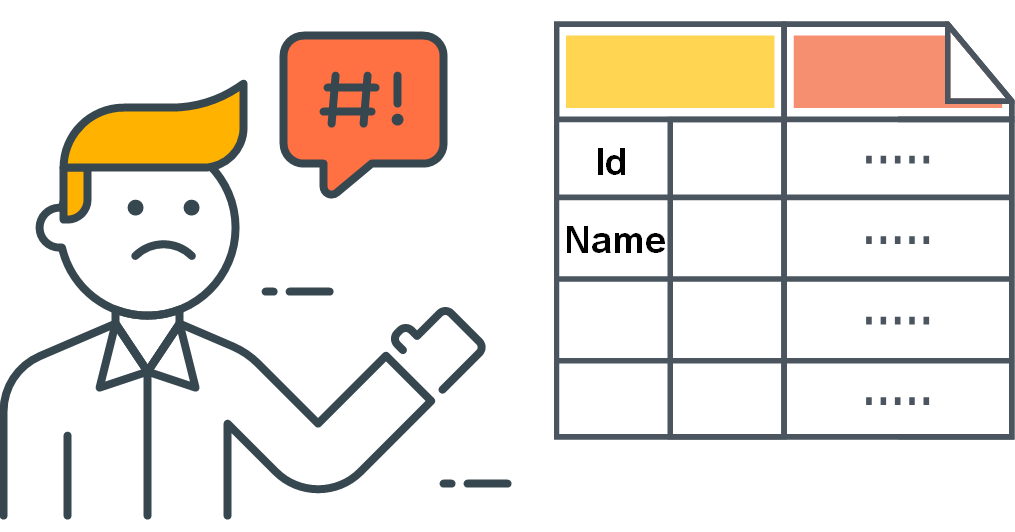
John wants to create a database with information about his businesses customers. He has chosen to use FlyWay to handle his database migrations.

At first he create a script to add his customer table to the database, but after running the migration he realize that he forgot to add information about the age of his customers.
As this column is crucial for John’s database design he need to add it. In order to achieve this he creates a new script that adds the age column to the customer table, before running a new migration.
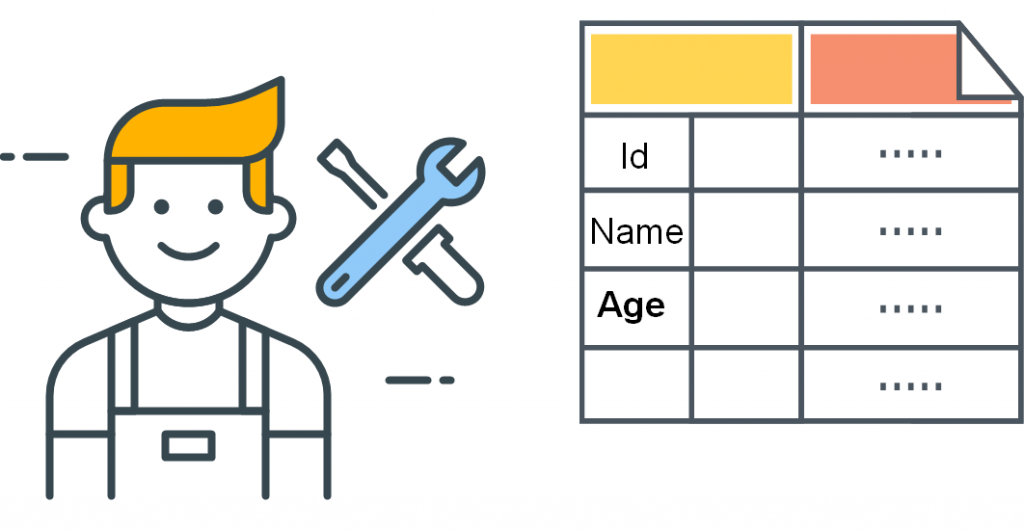
John is now happy with his customer table. And John is able to continue with the development of his database.
On the technical side, the story translates to the following diagram.
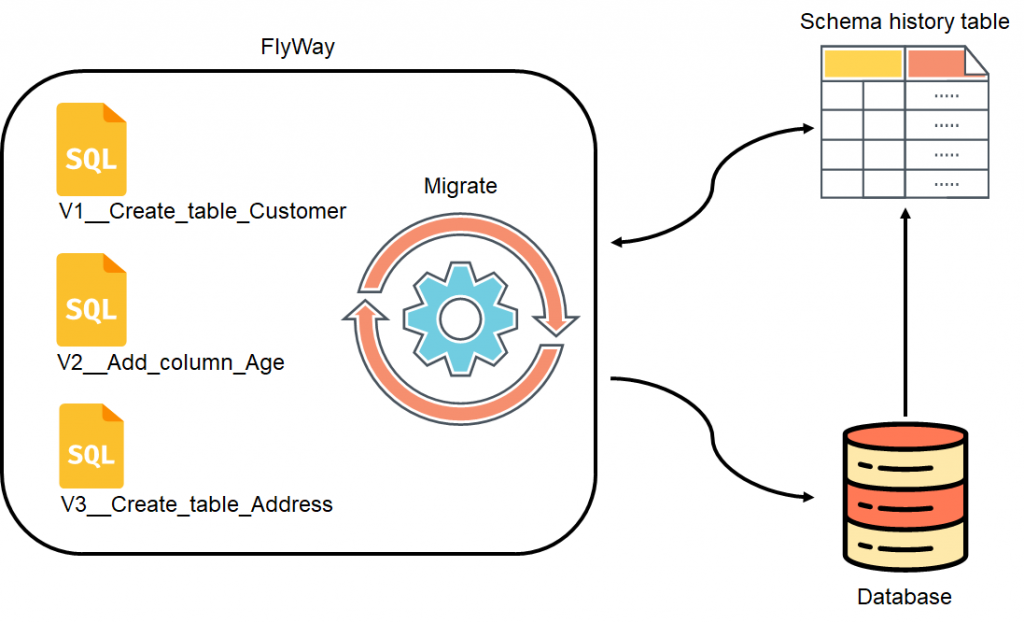
Each time John created a migration he ran the the migrate process in FlyWay. As a result FlyWay compared all migration files with the history table to identify changes not yet applied to the database.
Did you know? In June 2019, Axel Fontaine announced that RedGate acquires FlyWay. RedGate states that they will continue to maintain the community edition.
What do you need?
Let’s recreate Johns story, but before you continue get the following
- Docker for Desktop.
- Visual Studio Code
- Remote containers extension for Visual Studio Code.
- Docker extension for Visual Studio Code.
Are you done? Great!
To begin with you need to clone a GitHub template I’ve been working on lately. Find the button Use this template and follow the on screen instructions. This will get you up and running in no time!
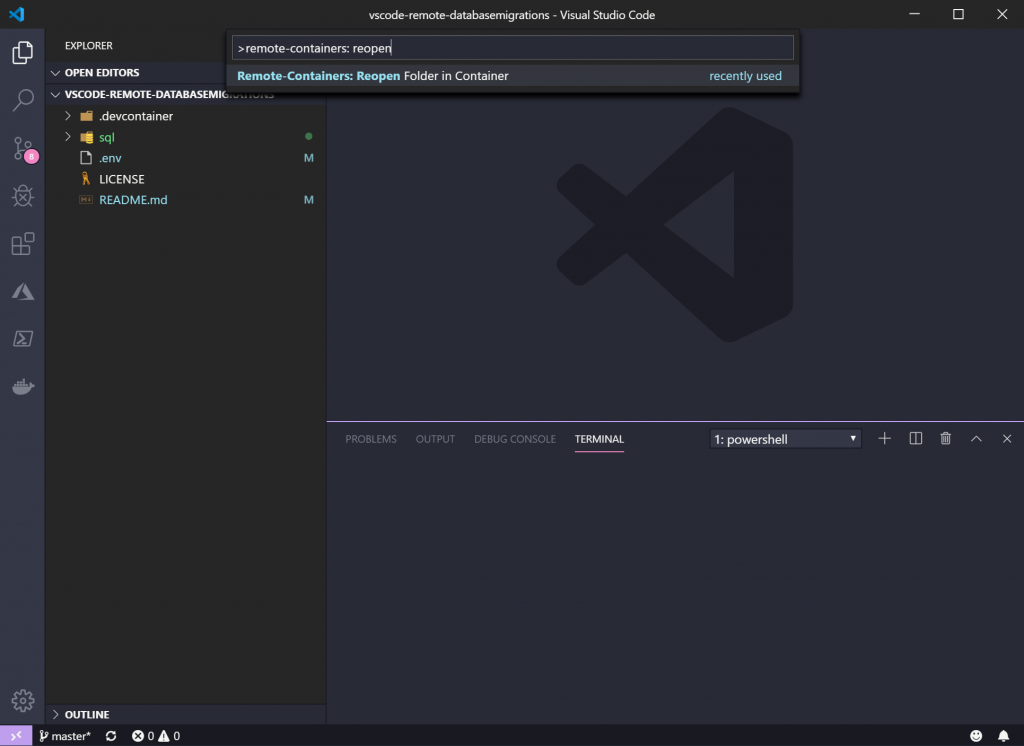
In Visual Studio Code open the folder that contains the template. When the folder is open, activate the command palette. Then find and select the option Remote-Containers: Reopen Folder in Container. Without delay, the window should now reload and start the container.
In the background a container for the SQL server is started along side with FlyWay in another. The FlyWay container is short lived and applies migrations under the folder with the name sql before it exits. Wait for the process to complete.
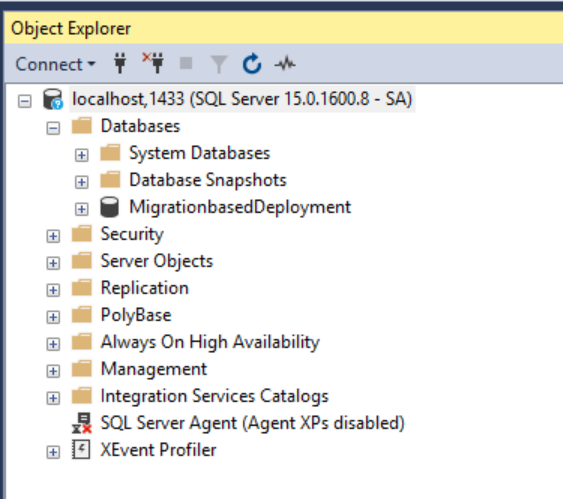
You can verify that the SQL server is running by connecting to localhost,1433, using Azure Data Studio or SQL Server Management Studio (SSMS). User Name and Password is located in the .env file at root of the database project.
Creating your first migration
As you probably observe the template is missing migration scripts, but fear not, you will create those.
Inside the folder with the name sql, add a new file with the name V1__Create_Customer_Table.sql.
Note! FlyWay requires that you prefix the scripts with V{version_number}__ so it can identify the migrations. The version number however, determines the execution order of the scripts.
Copy paste the SQL query below into your newly created file.
Now that the script has content you have successfully created a first migration, like John. Let’s migrate the change to the database!
Activate the command palette in Visual Studio Code. Then find and select the option Docker Containers: Restart. Choose to restart the container with the name framework-flyway.
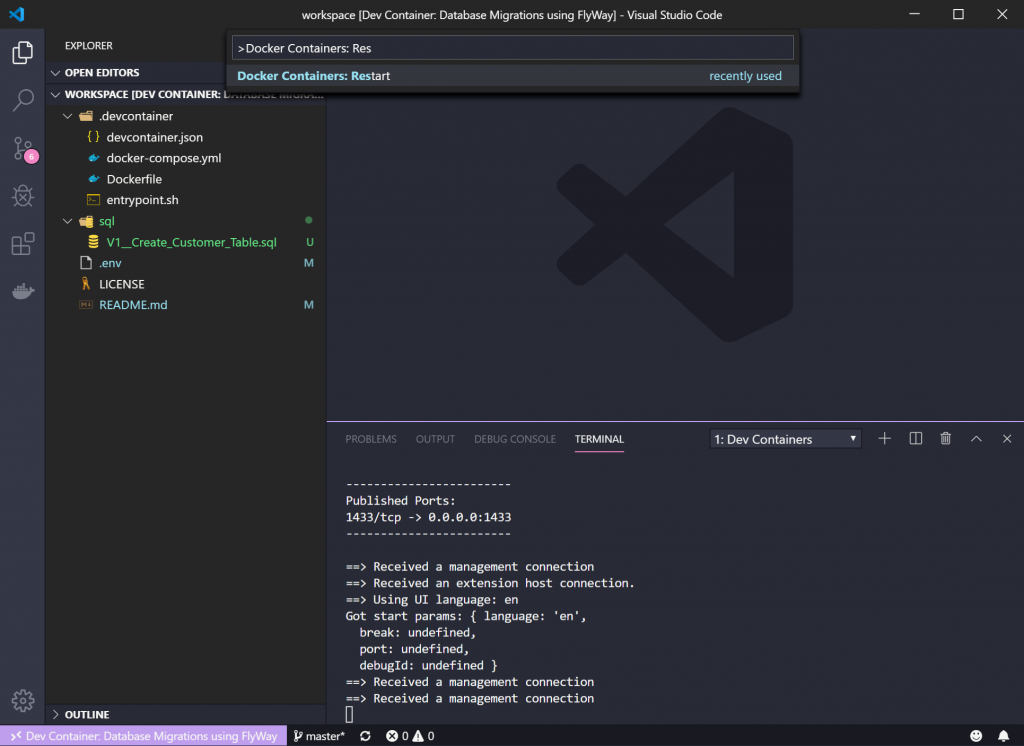
In the background FlyWay is now applying the first migration.
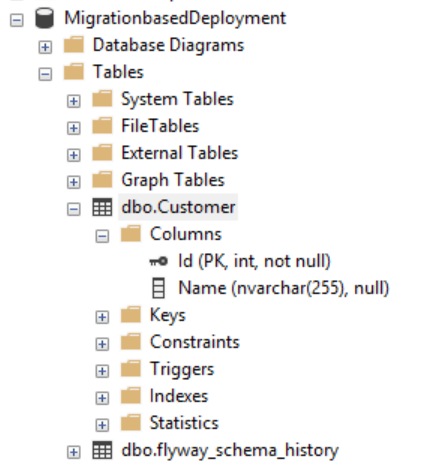
Open SSMS or Azure Data Studio and connect to localhost, 1433. Next you need to expand the tables folder within the database named MigrationbasedDeployment. If FlyWay migrated with success you should now see two tables.
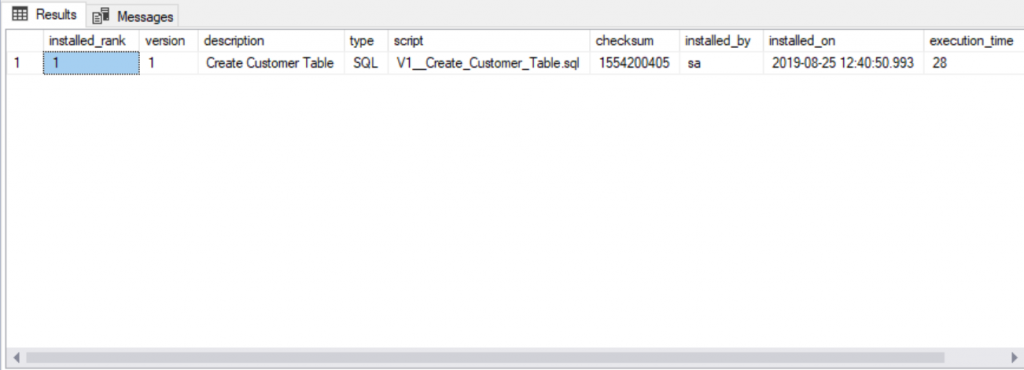
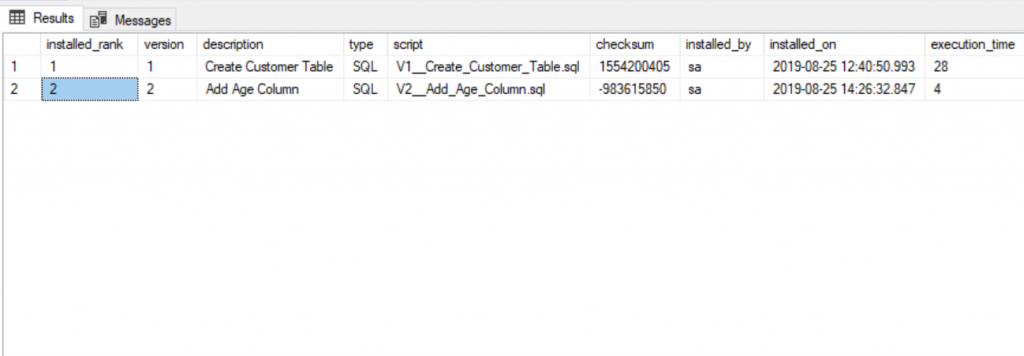
The first table is the one you created. However, as you probably observe FlyWay creates a history table with attention to keep track of changes. For this reason it’s easy to see the state and version of the database. For example, you can at any point in time see what has been applied.
Creating your second migration
Oh no, as John did, you also forgot to add the Age column. No worries, let’s create a migration for that!
Again, inside the folder with the name sql, add a new file with the name V2__Add_Age_Column.sql.
Copy paste the SQL query below into your newly created file.
Now that the script has content you have successfully created a second migration. If you come from a state-based deployment world, then you might see that the original CREATE statement was not changed. Instead you need to write the change manual, hence the name migration based deployment.
As you did in the previous chapter, restart the container with the name framework-flyway. Sit back and wait for FlyWay to apply your migration.
If FlyWay migrated with success you should now see that the Customer table has a Age column.
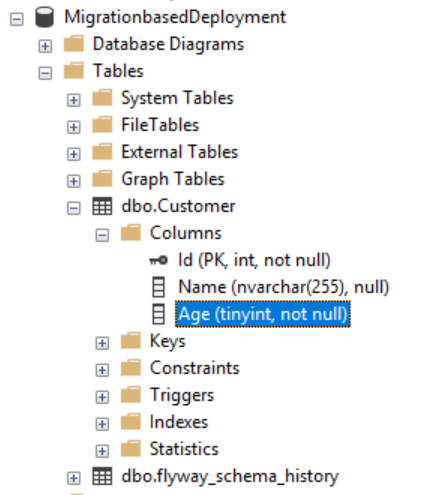
Note! You may need to refresh the table definition to see the changes.
In addition you should also see a new row in the history table.
Conclusion
As shown above migration-based deployments is quite simple and straight forward to start using. On the other hand it requires you to write all migrations. If I was a bit unclear, that means all upgrade and downgrade scripts. On the positive side you have full control of the migrations. No auto generated scripts or hidden features of the tooling.
However, in the long run it’s just a means to an end. Choose the option that fits your development process and team composition.
How do you handle database migrations?